Terminal Chat with Python


Python Chat Application
Recently I was informed by my school teacher to make a project in python. I was wondering what to make and what could be better than a fully customised chat application. I wanted to do this project in nodejs but never got time to do so. So I thought that let just make it python instead. After all python is cool for these kind of projects. So lets build a chat application together.
Environment Setup
- My choice for ide ( and most people's too ) is none other than VSCODE.
- For this project, I am using the latest python 3.9 with virtual environment with venv.
- Just install socket library with:
pip install socket
Getting Started
For this project, we will be needing two files namely client.py and server.py.
Coding the Server
Import the necessary packages required. ( These packages will also be same for client )
import threading
import socket
Now define the ip of your local machine as well as port for listening to the websocket connections for clients to connect on. In my case it wil be
host = '192.168.0.45'
port = 55555
Initialise the socket connection with
server = socket.socket(socket.AF_INET, socket.SOCK_STREAM)*Note: Here AF_INET refers to using ipv4 as our protocol. and SOCK_STREAM refers to using TCP connection instead of UDP (SOCK_DGRAM)
Bind the server to the specified host and port and start listening for incomming connections.
server.bind((host, port))
server.listen()
Now let us declare all the required variables.
clients= []
nicknames= []
Now write our first broadcast function to send the message coming from one client to all of the connected clients.
def broadcast(msg):
  for client in clients:
      client.send(msg)
Now lets write our main function for handling the clients and their messages.
def handle(client):
  while True:
      try:
          message = client.recv(1024)
          # Recive the message from the client and broadcast it to all clients.
          broadcast(message)
      except:
          # If client disconnects, then close the connection.
          index = clients.index(client)
          clients.remove(client)
          client.close()
          nickname = nicknames[index]
          broadcast(f'{nickname} left the chat'.encode('ascii'))
          nicknames.remove(nickname)
          break
Above function handles the client messages and broadcasts them whenever recieves message from client. Now lets write function for accepting the incomming connection and saving the nickname in the list data structure.
def receive():
  while True:
      client, address = server.accept()
      print(f'Connected with {str(address)}')

      client.send('NICK'.encode('ascii'))
      nickname = client.recv(1024).decode('ascii')
      nicknames.append(nickname)
      clients.append(client)
      print(f'Nickname of the client is: {nickname}!')
      broadcast(f'{nickname} joined the chat'.encode('ascii'))
      client.send('Connected to the server'.encode('ascii'))

      thread = threading.Thread(target=handle, args=(client,))
      thread.start()
So you might be confused whats all happening here. So basically what we are doing is that whenever client requests to connect, the server accepts the client. Then a NICK named code is sent by the server(Note: We are encoding and decoding all the messages into ascii) and client then sends its nickname which gets saved in the memory. Client is added to the clients list as well. Finally a message is broadcasted by the server indicating the presence of the client. As we want to handle each client separately who connects to the server, we start a thread with
target=handleandargs=client.
print('Initialising Server......')
receive()
At the end we send a nice looking console message so that we are not having any errors and ensuring that our sever is up. Also we run the recieve function to start looking for clients.
Full code of the client is given below.
import threading
import socket

host = '192.168.0.45'
port = 55555

server = socket.socket(socket.AF_INET, socket.SOCK_STREAM)
server.bind((host, port))
server.listen()

clients= []
nicknames= []

def broadcast(msg):
    for client in clients:
        client.send(msg)

def handle(client):
    while True:
        try:
            message = client.recv(1024)
            broadcast(message)
        except:
            index = clients.index(client)
            clients.remove(client)
            client.close()
            nickname = nicknames[index]
            broadcast(f'{nickname} left the chat'.encode('ascii'))
            nicknames.remove(nickname)
            break

def receive():
    while True:
        client, address = server.accept()
        print(f'Connected with {str(address)}')

        client.send('NICK'.encode('ascii'))
        nickname = client.recv(1024).decode('ascii')
        nicknames.append(nickname)
        clients.append(client)
        print(f'Nickname of the client is: {nickname}!')
        broadcast(f'{nickname} joined the chat'.encode('ascii'))
        client.send('Connected to the server'.encode('ascii'))

        thread = threading.Thread(target=handle, args=(client,))
        thread.start()

print('Initialising Server......')
receive()
Coding the Client
- Client is also almost same as our server. Lets see how to code it.
- First we do the same as we did in the server with one more thing this time i.e. asking for nickname input.
import threading
import socket

nickname = input('Enter a valid nickname ')

client = socket.socket(socket.AF_INET, socket.SOCK_STREAM)

host = '192.168.0.45'
port = 55555

client.connect((host, port))
- Client only requires two simple functions. Lets see the first function called recieve.
def recieve():
  while True:
      try:
          msg = client.recv(1024).decode('ascii')
          if(msg=='NICK'):
              client.send(nickname.encode('ascii'))
          else:
              print(msg)
      except:
          print('Unexpected Error! Connection Closed....')
          client.close()
          break
Here we recieve the message sent by the server. Remember we sent a code from our server called NICK asking for the nickname. We check for the same and send if the code is sent by the server. Else we print the message itself. Also we have a error function which closes the client if server disconnects.
def write():
  while True:
      message = input("")
      msg = f'{nickname}: {message}'
      client.send(msg.encode('ascii'))
Second function is write function which just takes the input from the user, encodes it to ascii and send it back to the server.
- Last thing to do is to setup our threads for these two functions.
recieve_thread = threading.Thread(target=recieve)
recieve_thread.start()

write_thread = threading.Thread(target=write)
write_thread.start()
- So our full client code is given below.
import threading
import socket

nickname = input('Enter a valid nickname ')

client = socket.socket(socket.AF_INET, socket.SOCK_STREAM)

host = '192.168.0.45'
port = 55555

client.connect((host, port))
def recieve():
    while True:
        try:
            msg = client.recv(1024).decode('ascii')
            if(msg=='NICK'):
                client.send(nickname.encode('ascii'))
            else:
                print(msg)
        except:
            print('Unexpected Error! Connection Closed....')
            client.close()
            break
def write():
    while True:
        message = input("")
        msg = f'{nickname}: {message}'
        client.send(msg.encode('ascii'))

# Threads
recieve_thread = threading.Thread(target=recieve)
recieve_thread.start()

write_thread = threading.Thread(target=write)
write_thread.start()
How does it work?
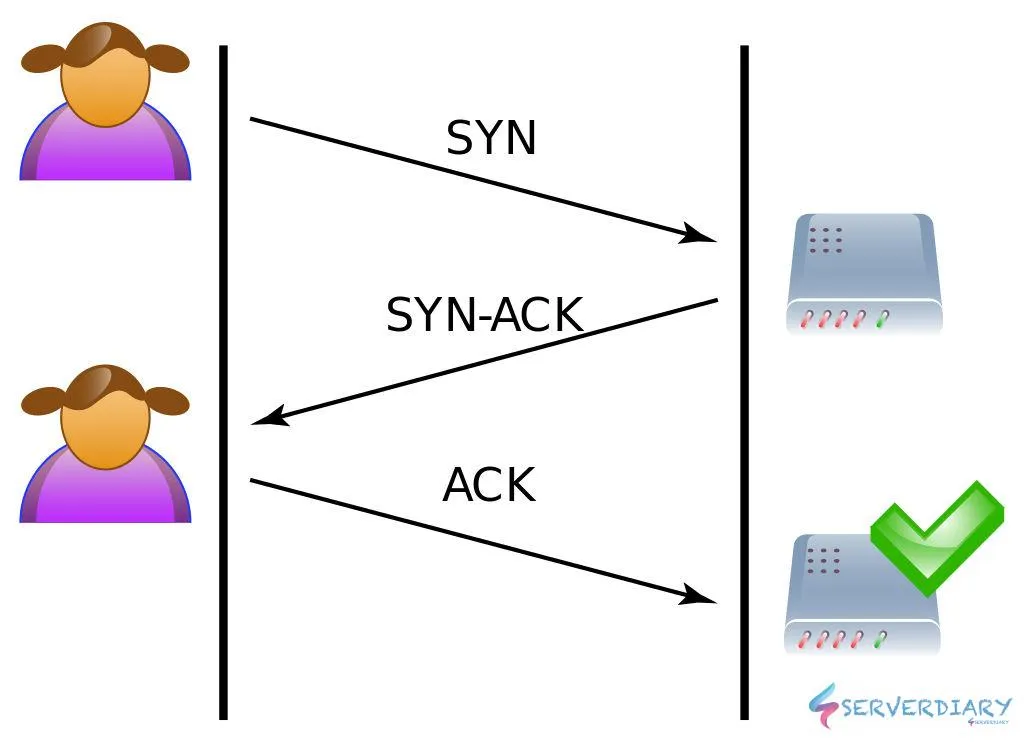
So thats it! Our application is complete by now but how does it work?? Well it used websockets to establish a connection between the server and the client. A WebSocket is a persistent connection between a client and server. WebSockets provide a bidirectional, full-duplex communications channel that operates over HTTP through a single TCP/IP socket connection. At its core, the WebSocket protocol facilitates message passing between a client and server.
Conclusion and further learning
I hope you liked building this project with me. Stay tuned for further such blogs :)
